MENU
NO | NOK
Logged in as:
NO | NOK
No results found
Search Suggestions

Cleaning Needs of Freezer Obvious?
Lab Academy
- Molecular Biology
- Biotechnology
- Safety & Biosafety
- Lab Routine
- Efficiency
- Storage
- Essay
Cleaning and maintenance of a ULT freezer is just as popular as cleaning the fridge at home. As long as you close the door quickly enough, you can ignore the mess within. But there are ways to reduce the risk and size of upcoming cleaning jobs, as well as tips and tricks to be faster and more effective during the cleaning process.
There are two major issues when cleaning.
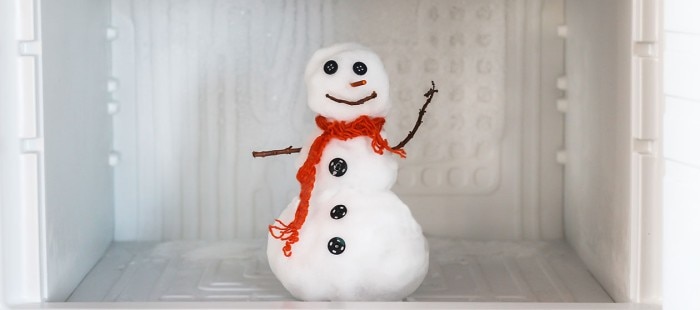
The most obvious aspect is snow eventually icing.
Snow and icing is a common effect when using freezers, independent from the manufacturer. This law of physics is always there, you can only reduce or slow down the effect. Why is that?
The cause of icing is humid air in the lab. When opening the freezer door, this humidity from the air starts to condensate on the cold surfaces of the freezer interior. Due to do the very cold surfaces, the condensate immediately turns into snow. Over some time (days and weeks), this snow is compressed and frozen to ice. Thin layers of ice grow to bigger layers, finally expanding to a kind of glacier within the ULT freezer.
The ice has some indirect negative impact on the freezer and your samples: The most significant situation occurs if the ice touches and finally covers the door gaskets, forcing the gaskets to change their shape. As a result, the freezer door is no longer properly sealed. A constant stream of warm ambient air needs to be replaced by the compressors, resulting in far higher energy consumption and a high load on the cooling system. On top, humidity from the lab can access the inside of the freezer and begin to condensate. Warm air causes the surfaces inside to be excessively cooled, humid air condensates on the surfaces, warped seals allow more warm air to enter. This cyclical process ends in a completely iced freezer.
You notice the second impact of icing every time you try to remove a freezer rack to access your samples. The more icing, the more difficult it is to move the rack. Finally, the ice makes it difficult to read labels on your samples tubes. Neither handwritten nor barcode labels can be deciphered when completely iced.
The thicker these layers of ice, the more difficult it is to remove. Care must be taken when using mechanical force to avoid damage to the inner walls of the freezer as well as to your own fingers and arms. Wear gloves when necessary. A complete defrosting might be necessary if the layers of ice are too heavy. Keep in mind, you need a back-up freezer for your samples during defrosting.
The best way to reduce the risk of icing is to limit openings of the freezer door to a minimum, as well as the duration of each individual opening. Stay organized and use inventory management systems (spreadsheet software or a convenient sample inventory software) to minimize door-opening times. The better you know where your sample is, the less time you need at the open freezer.
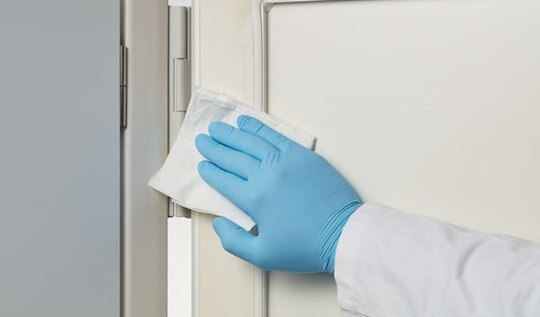
Remove the snow from the shelves and the gaskets on a regular basis, i.e. once a week with a brush. Snow is far easier to remove than ice. Increase the snow cleaning frequency if you have humid conditions in the lab, like in warm summer months.
Read more
Read less

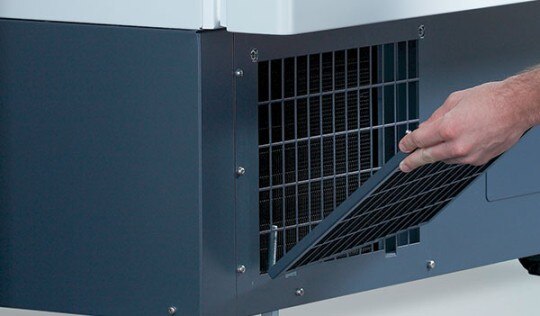
First, a clogged air filter increases the power consumption as the fan is running at higher speed to generate sufficient flow. Midterm, this limited air stream increases the risk of overheating the compressors and an eventual failure of the freezer. If your freezer is located in the lab, a clean filter also reduces the noise level.
Read more
Read less

Preventive maintenance helps to reduce your workload as well as prolong the life of your freezer. Some more tips and tricks are listed on the Eppendorf ULT Freezer Maintenance poster.
Read more
Read less
